Pushover notifications for STAR-CCM+
CFD simulations are usually lengthy, very lengthy, and we don’t want to spend time looking at a screen again and again to see whether the solution has converged or reached its stopping criteria. That’s where notifications come in handy, specially if sent to our mobile devices. I’ve been using Pushover for quite some time now, and I am very happy with its versatility and simplicity. Up until now I’ve been using Python, but it supports programming many other languages. For example, a simple Hello world! notification in Python 2.7 would look something like…
import httplib, urllib
conn = httplib.HTTPSConnection("api.pushover.net:443")

conn.request("POST", "/1/messages.json",

    urllib.urlencode({

        "token": "APP_TOKEN",

        "user": "USER_KEY",

        "message": "hello world",

    }), { "Content-type": "application/x-www-form-urlencoded" })

conn.getresponse()
Contents
NetBeans
Unfortunately for me, STAR-CCM+ relies on Java to run automated tasks, and I’ve never used Java. It’s never too late to learn something new, and in case it may help someone, I will detail here the steps I followed to send notifications to my Android phone. We can use the pushover4j package as suggested in the Pushover FAQ page. Once we have downloaded the repository we will need an IDE —I’m using NetBeans—. Now we are ready to start —make sure you have all the required dependencies—, we just follow this very simple steps (well, there is an easier way):
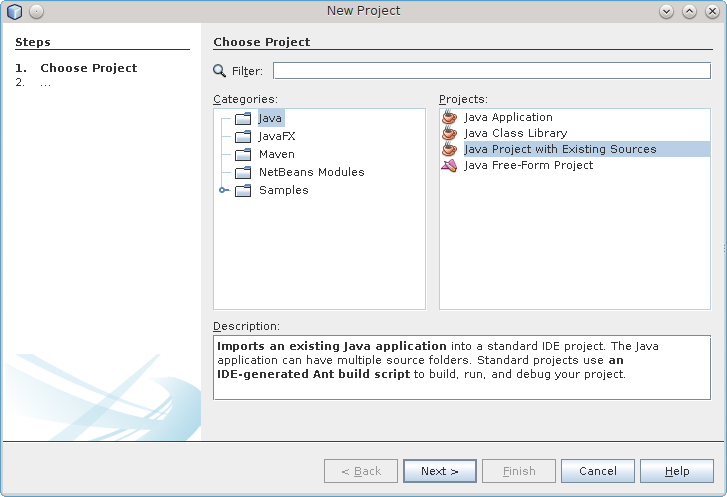
- Start a New Project… Java Project with Existing Sources.
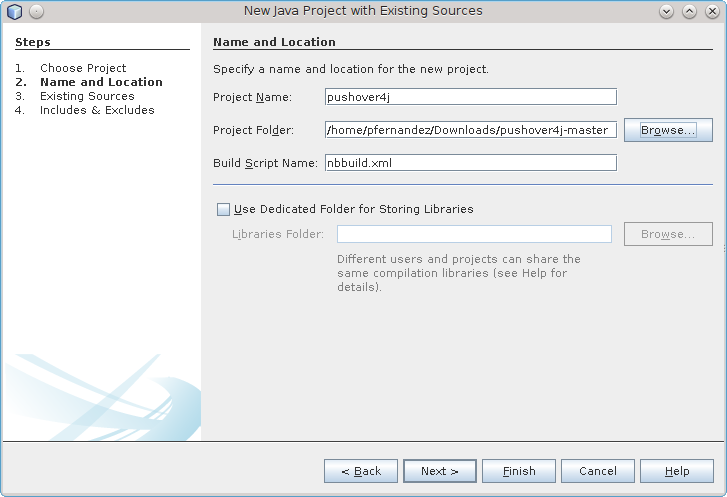
- Name the project as pushover4j and select the pushover4j-master folder you’ve downloaded from GitHub. NetBeans automatically creates the Build Script file.
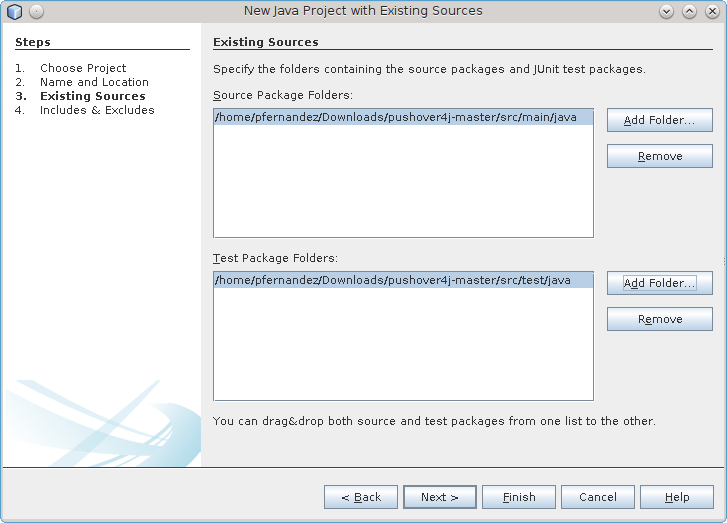
- Specify the folders containing the source packages and JUnit test packages.

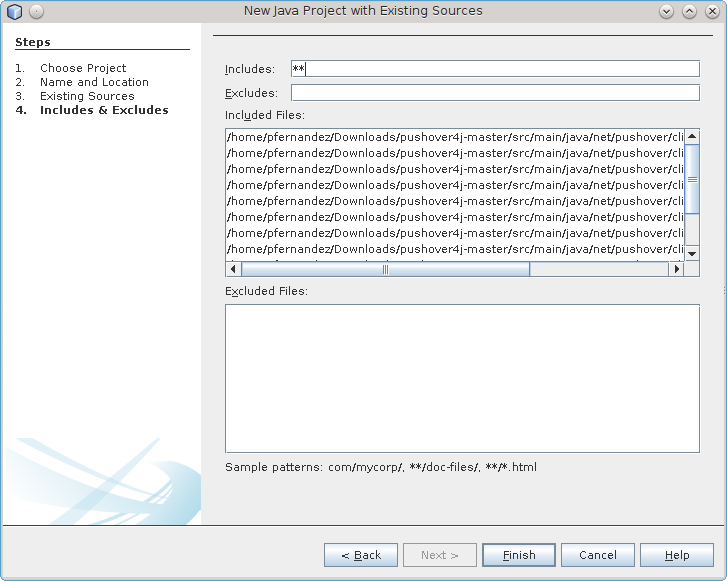
- Just include all the files.
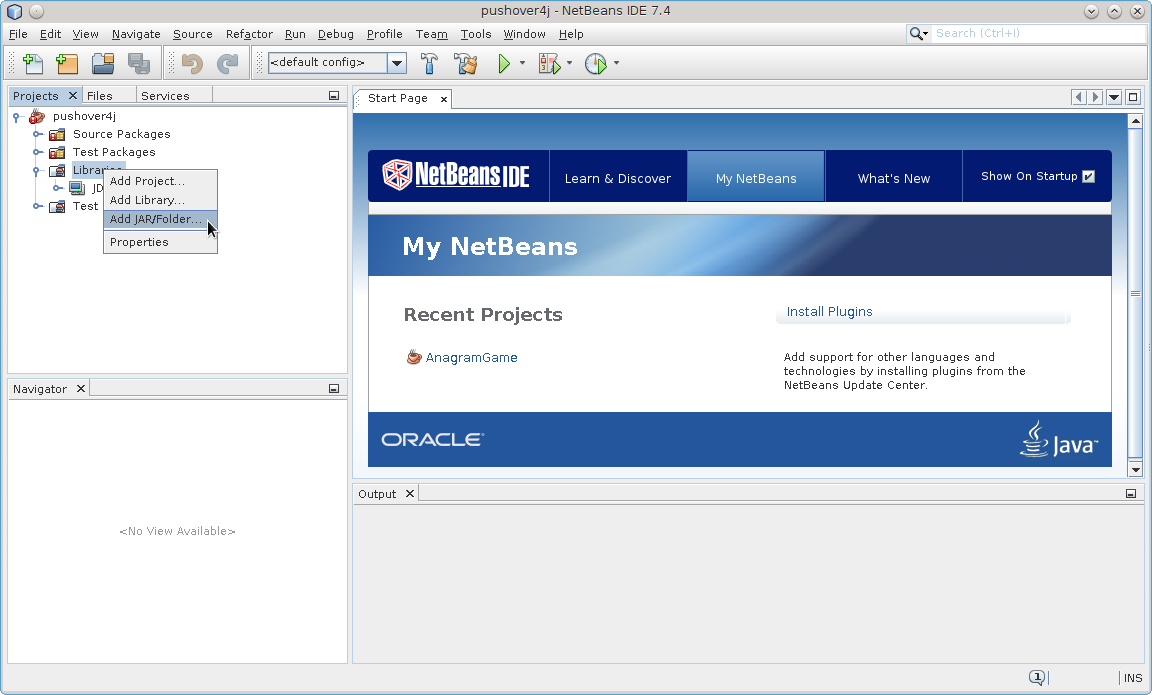
- Add the JAR files for gson 2.2.2 and apache commons httpclient 4.2.1.
- And just build.


Easy way
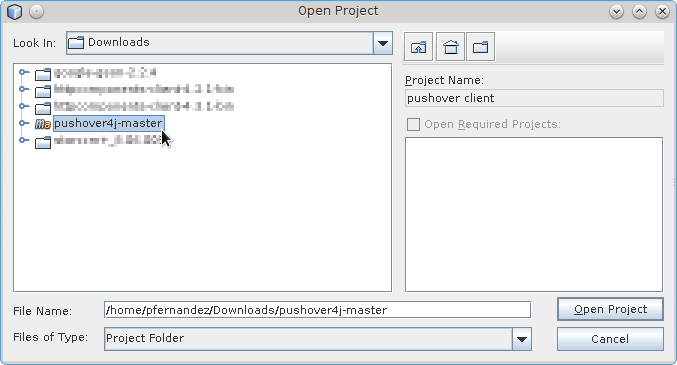
Alternatively, you can just Open Project… and select the folder which will be identified by ma —for Maven I guess. That is, as I realized too late, the easiest way to do it. And the quickest. And the very one that gives you the least headaches.
Then just build, and we are all set.
Star-ccm+
Now, what comes next took me way much more time than I’d like to acknowledge to figure out —mainly because I didn’t follow the easy way at first; a downside of having never seen Java before.
- Tell STAR-CCM+ where to find the classes.
Specify the path inTools > Options > Environment > User macro classpath.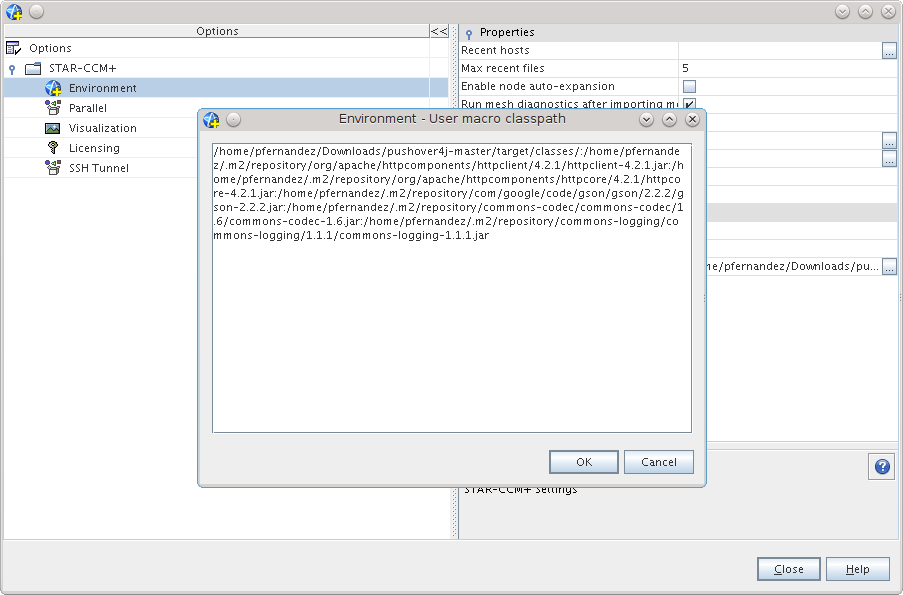
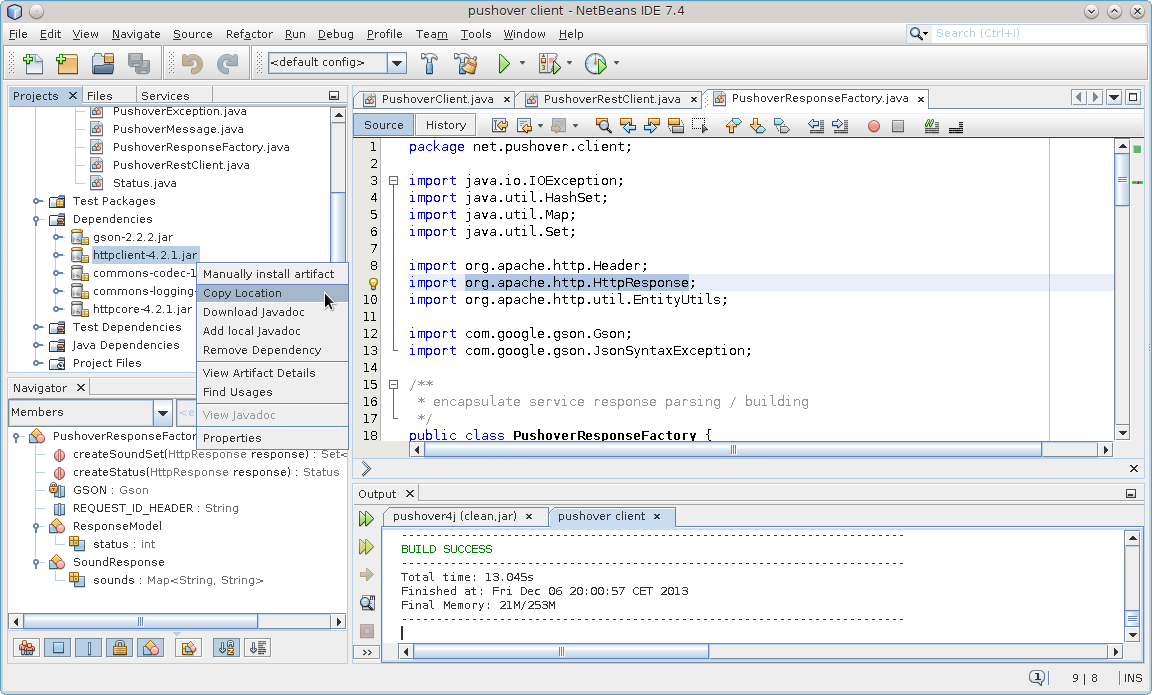
- It is important to include all the dependencies —JAR files— in order to avoid complaints when running the macro in STAR-CCM+. For that just ask NetBeans to provide the path for the dependencies as shown in the picture below.

- Just include the following piece of code in your macro.

PushoverClient client = new PushoverRestClient();
client.pushMessage(PushoverMessage

.builderWithApiToken("APP_TOKEN")

.setUserId("USER_KEY")

.setMessage("hello world")

.build()

);
Now you just have to run the macro.
Test
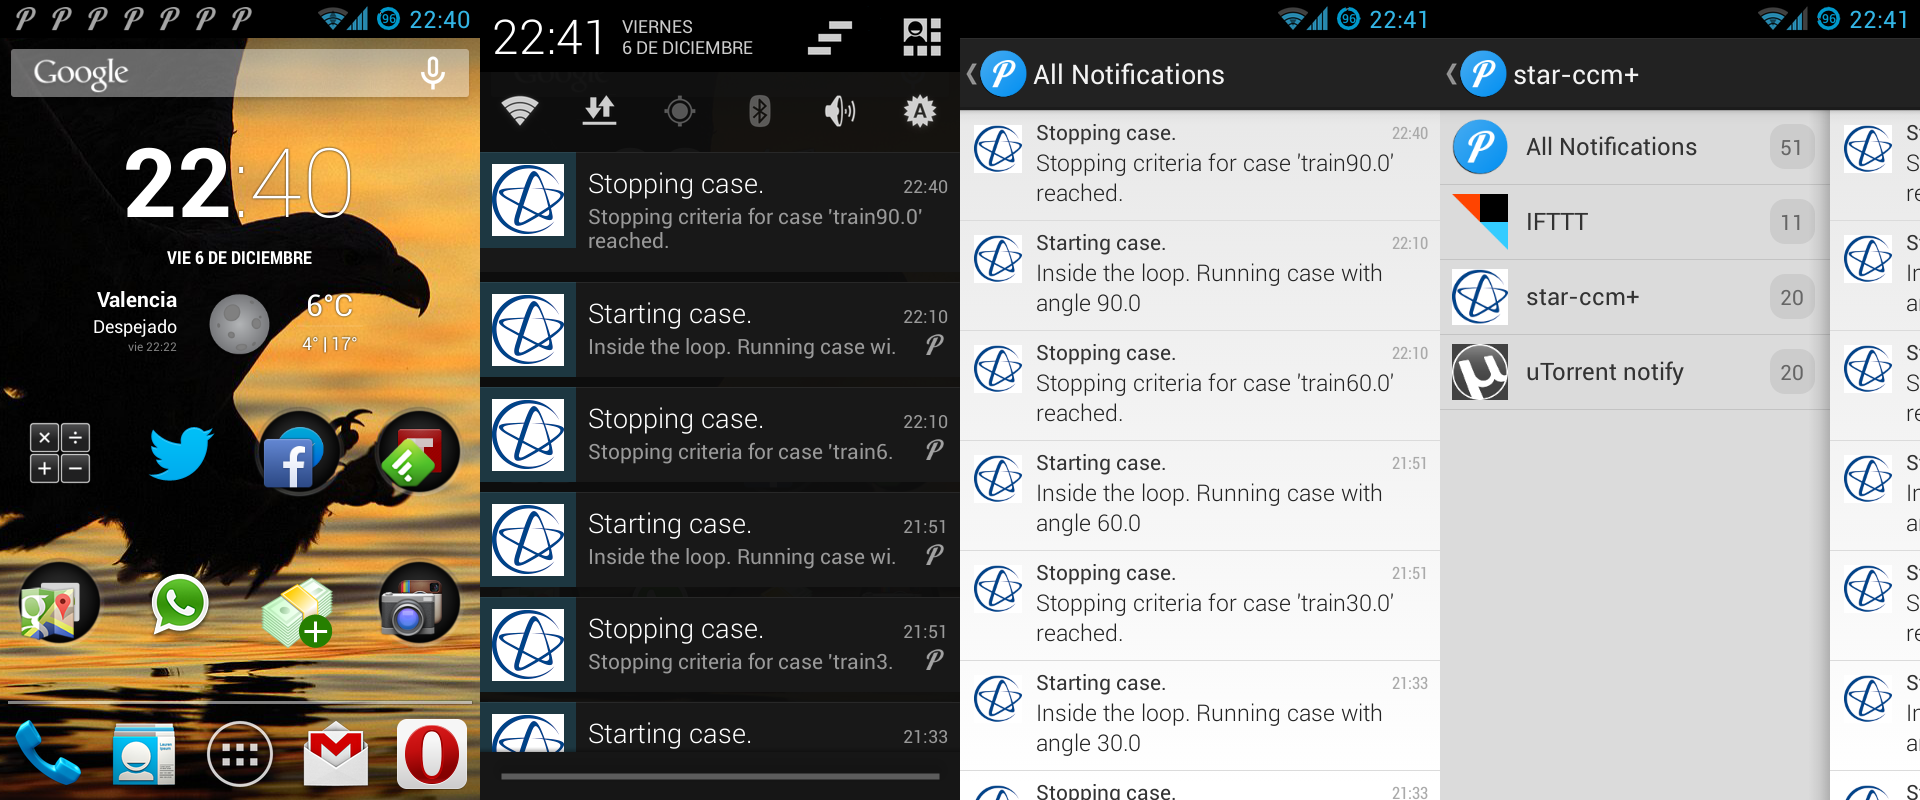
To test the implementation I am using the macro created to run multiple simulations which is detailed in the Tutorial Guide. At the end of this post you will see a snippet showing how I integrated Pushover within the macro.
Those are the results:
References
[1] User Guide STAR-CCM+ Version 8.06. 2013.
[2] Pushover.net. 2013. Pushover: API. [online] Available at: https://pushover.net/api [Accessed: 6 Dec 2013].
Appendix
Snippet to show how I placed the code within the macro.